Today was family dinner day. We take it in turns with Victor's brothers to get together for a meal every 2 weeks or so.
Today, was his brother Basil and wife Leonie turn. Since I need an excuse to cook something different I always take these family dinner opportunities to try out different recipes. Today, I took some rice pudding for Basil (he loves rice pudding) and also made some Chocolate Thin Mint Brownies. I found this receipe in the Six Sisters blog sometime ago, and here it is with pictures of how it looked each step of the way and also in the end.
I would love to know how it went for you.
Chocolate
Thin Mint Brownies
Brownies:
1 1/2
cups melted butter
3/4 cup
cocoa
3 cups
sugar
6 eggs,
beaten
1 1/2 tsp
vanilla
3/4 tsp
salt
2 1/4
cups sifted flour
Whisk
together melted butter and cocoa. Add sugar, eggs, vanilla and salt. Mix well,
then stir in flour by hand. Do not over mix. Spread in greased 12x17-inch
cookie sheet and bake at 350 for 25-30 min. Cool and then put in the freezer
for 20 minutes.
I didn't have a 12 X 17" cookie pan so used a Lamington pan. I believe it came out of too thick because of this. Next time I would be using the size recommended. This was how it looked when it came out of the oven.
Mint
Frosting Layer:
3/4 cup
butter, softened
3
Tablespoons milk
3 cups
powdered sugar
1 1/2 tsp
peppermint extract
Green
food coloring (optional)
For
frosting, mix butter, milk, powdered sugar and extract. If you want to add
color, add your food coloring (you could also use red food coloring). Frost
brownies and then put in freezer for another 20 minutes.
I used a stick blender because I couldn't be bothered to get my whole mixer out. It seemed to work ok. And this is how it looked.
Chocolate
layer:
2 1/4
cups semi-sweet OR milk chocolate chips
3/4 cup
butter
Directions:
Melt chocolate chips and butter in a double
boiler (or in the microwave) and spread on top of the frosting layer. Freeze
another 20 minutes to set.
I melted the butter and chocolate chips in the microwave jug for 1 minute and then stired it until all the chocolate was fully melted.. I didn't feel like cleaning the microwave if it exploded ! It does look quite watery but don't worry.
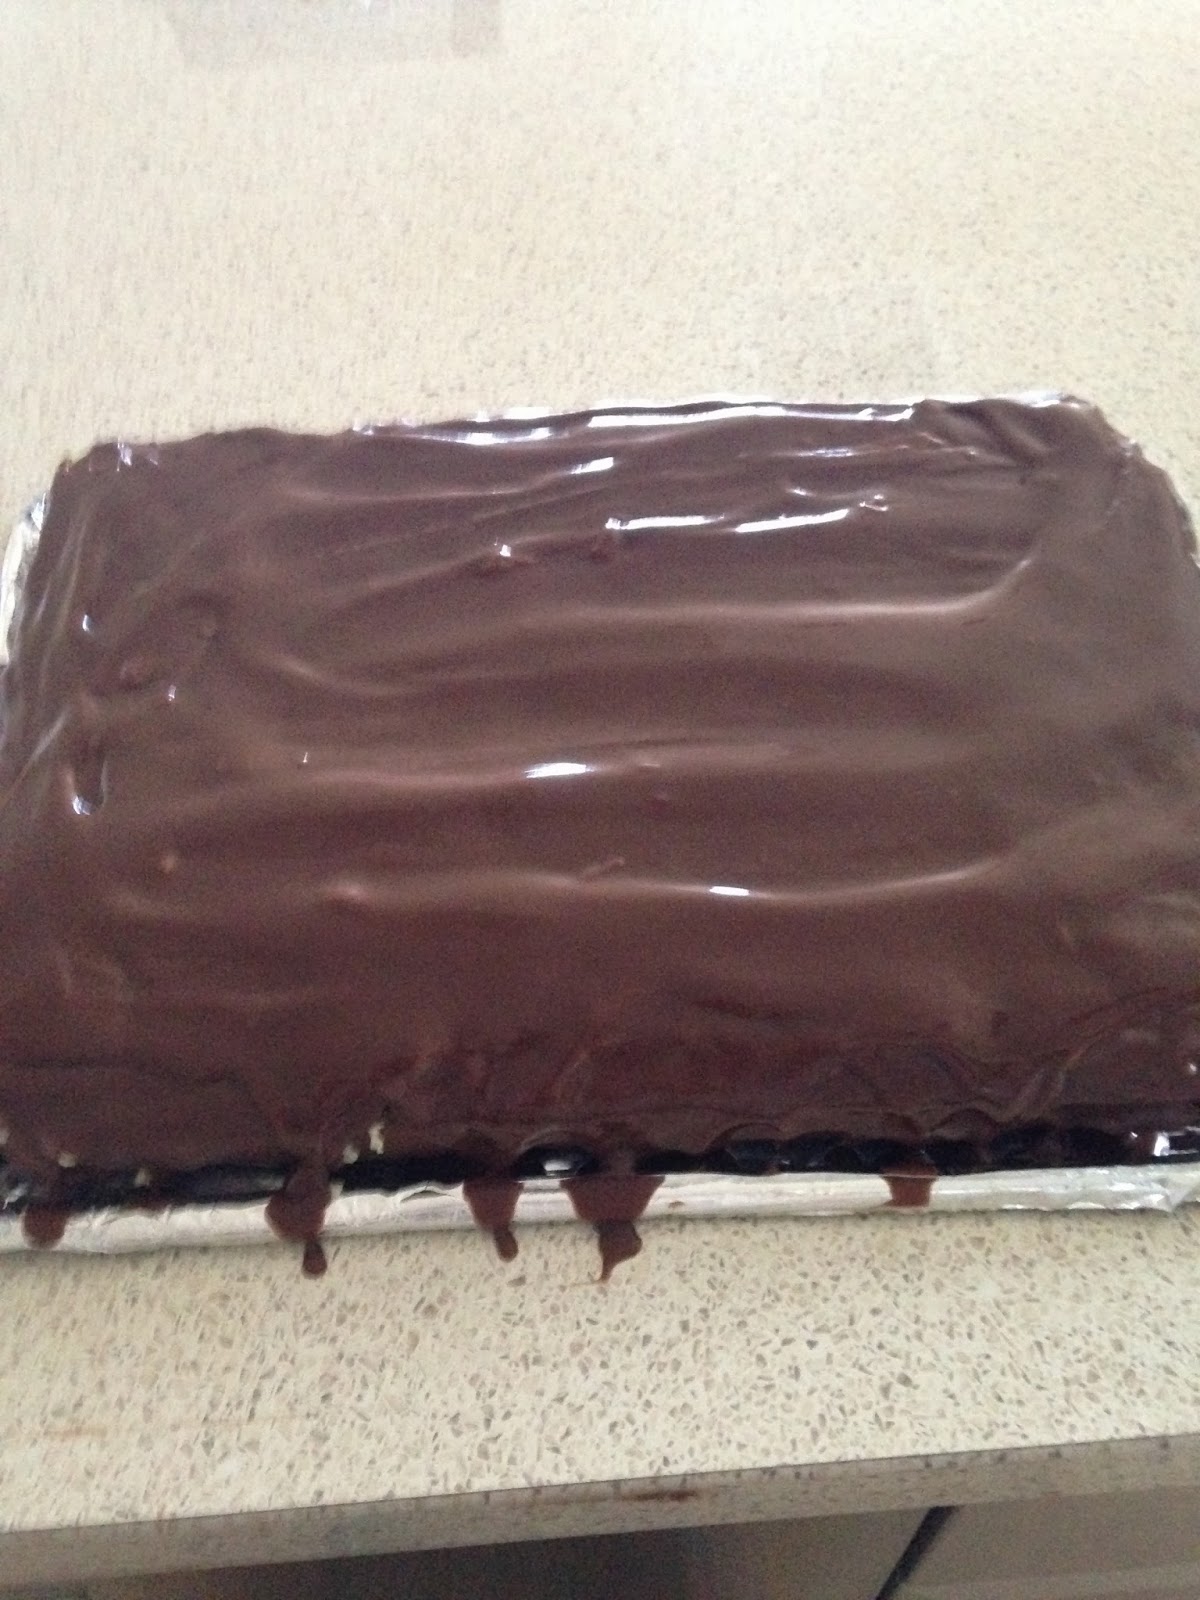
The chocolate does set very quickly because the mint is frozen. So you need to pour and spread quite rapidly. There seems to be too much chocolate when you are pouring, but because it sets so quickly and there is enough. Mine ended up looking like this when the chocolate was poured.
And the end result:
This was all that was left over after the lunch, I left some at my in-law's house, gave some to my neighbour (might I say she was very impressed). I think I might freeze it otherwise it will be chocolate overload.
If you like Brownies you won't think the brownie part is too thick. But as I said the next time I will be making this a little thinner.
Enjoy.
Chocolate Thin Mint Brownies
Brownies:
1 1/2 cups melted butter
3/4 cup cocoa
3 cups sugar
6 eggs, beaten
1 1/2 tsp vanilla
3/4 tsp salt
2 1/4 cups sifted flour
- See more at: http://www.sixsistersstuff.com/2011/04/chocolate-thin-mint-brownies.html#sthash.135UDaYB.dpuf
Chocolate Thin Mint Brownies
Brownies:
1 1/2 cups melted butter
3/4 cup cocoa
3 cups sugar
6 eggs, beaten
1 1/2 tsp vanilla
3/4 tsp salt
2 1/4 cups sifted flour
- See more at: http://www.sixsistersstuff.com/2011/04/chocolate-thin-mint-brownies.html#sthash.135UDaYB.dpuf